The Machine
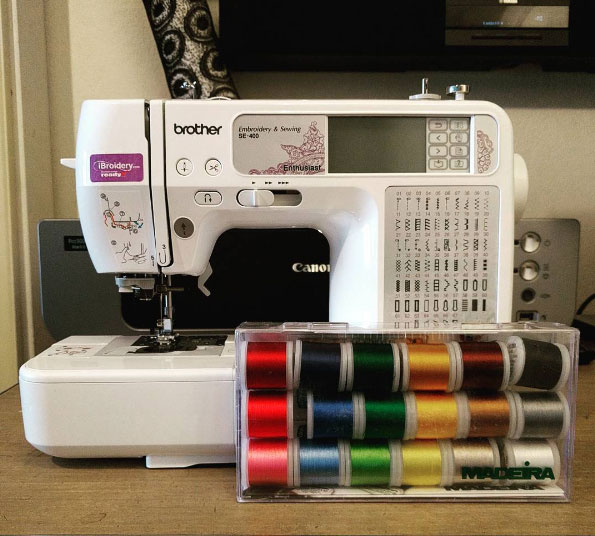
I had the Brother SE400 sewing/embroidery machine sitting in my Amazon "Save For Later" list for a long time. I've always loved patches and I've even designed a few myself, but I thought maybe someday it would be great to just make one or two instead of having to order a few dozen from a professional embroiderer. The Brother SE400 seems to be the lowest entry point into the tangled world of home machine embroidery. Eventually, I saw it priced less than $300 and decided to go for it. Sewing machines with this functionality can range from $400 to many thousands of dollars depending on features that I couldn't wrap my brain around. I decided to go cheap in hopes that I'd learn a few things. So, after years of hawing but not hemming, I went for it! Man, what a learning experience.
Supplies
In addition to ordering the machine, I ordered a small set of rayon thread and a roll of tear-away stabilizer. Then, I needed something to start embroidering on. My main objective was to learn patch making, and the first thing I learned is that a whole other machine does the stitching along the edges of patch. That's called "merrowing" or a "merrowed edge", named for the Merrow brand serger. A Merrow serger costs in the thousands of dollars new (or many hundreds of dollars used) and takes lots of time and experience to understand its many functions. So, instead of that noise, I decided to buy a bunch of blank pre-merrowed patches from Allstitch.net. I just got a few different sizes in all-black.

SewWhat Embroidery Software, demo version emulated on a Mac
About Software
So, the machine and supplies arrived and I was ready to figure it all out. After learning how to thread the thing, figuring out what a bobbin is, installing the robotic embroidery attachment, etc., it was time to attempt putting my artwork onto fabric with thread. As it turns out, that's a lot trickier than I had hoped.
Embroidery machines use proprietary file formats, meaning you can't just send a jpg or an eps file over to the machine and hit "print". This makes sense, since stitches and pixels are so different, but each machine brand has its own format. To edit art with these formats, you can't just use Photoshop or Illustrator. You have to use "digitizing" software, and almost none of those work on a Mac. In researching work-arounds, I learned that legit software for digitizing artwork can cost thousands of dollars. Even entry level offerings into the fantastical world of machine embroidery are very expensive and limited in features. There seem to be two main markets for this type of stuff, commercial embroidery outfits and at-home crafters with too much money to spend on their hobbies.
Over at MAKE Magazine's website, I caught a lead on how to use a super low-end PC embroidery package using a dodgy Windows emulator software, all in free trial mode for 30 days. This was about the best I could do to attempt putting my artwork onto fabric for the time being. In the end, I found that the trial software was best at handling existing digitized embroidery files, rather than creating new artwork or digitizing my illustrations. So, I basically started hoarding fanciful kittens and puppy designs wherever I could find them.
Exploring the In-Machine Art
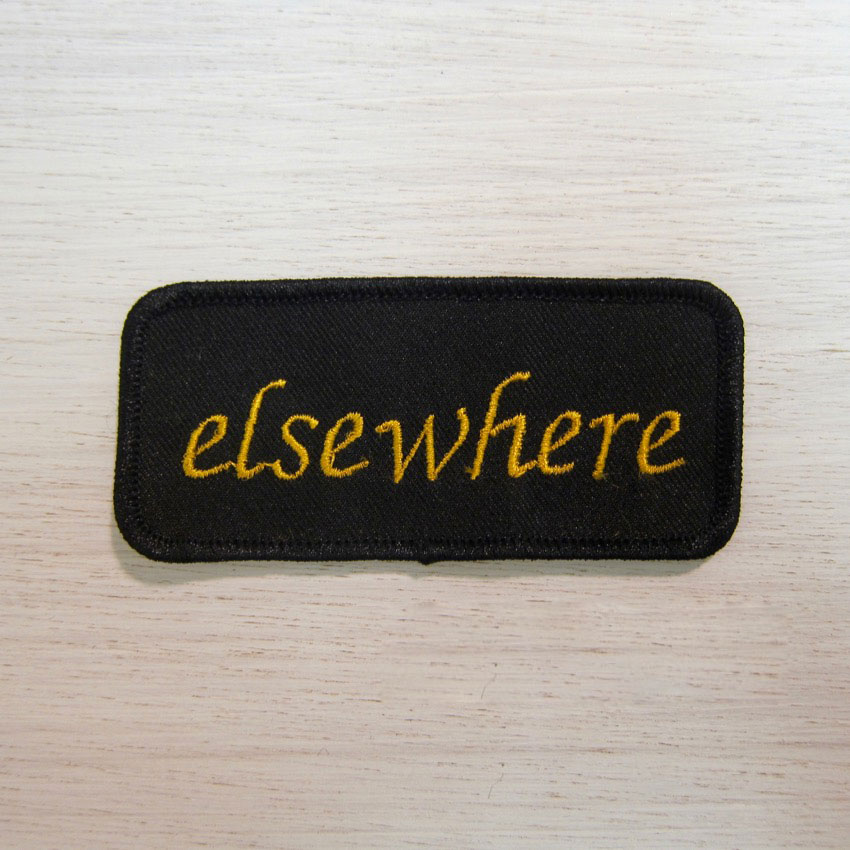
Eventually, I decided that it was more fun to explore the Brother SE400's 70 built-in clip art graphics and it's in-machine type functionality. Because you can't combine text and graphics in the SE400's interface, I would sometimes stitch a design and then leave room for text. Then, I'd reset the machine for creating lines of text and add them to the design afterward. The text engine can't do multiple lines of text, so if there's a line-break, I'd have to reset the machine for each line of text. The resulting patches ended up having a lot of character and are each very unique, each in their own wonky way. Things like kerning, leading, and other subtle typographic controls are mostly out the window. It's oddly freeing.

Most of the time, I'd have an idea for the what the text would be, but then that would change as the clip-art was being stitched. For example, I was making a patch with a cow on it and I'd originally intended it to read "Hey cow, I see you now.", after one of my favorite Sesame Street songs. Well, something happened while it was printing and the registration suddenly became way off. I decided to keep the machine going and see what other mistakes it would make. Then, I decided that "misteak" would be the better text to add.
This lead to a few experiments in purposefully using the wrong thread and moving the patch around in the hoop to offset the registration. During all of this, I was learning about what needles not to use, what thread works and what thread definitely does not work, how to fix the machine when it's stuck, how to hoop things quicker, etc. I don't think I would have guessed that I'd be learning about sewing and textiles at this point in my life but I like broadening my horizons, so why not?
Moving Forward
I ended up making a couple of dozen patches of various levels of complexity using the in-machine text and clip-art, some nefariously obtained kitten files, and the half-assed trial software method via emulator. I've since been gifted a used Windows XP machine and I plan to use it to run ancient bootleg embroidery software of a higher caliber than what I've been using. This should help me at least lay out text a little easier. I'm still pretty limited by my very basic embroidery machine, but it's got charm so I'll keep it. Plus, I don't know how deep I want to get into this world of new hardware and technique. I still only barely explored applique embroidery, sewing, or quilting and that's a whole other rabbit hole, right? However, at least I know exactly what everyone's getting for Christmas this year.

Experimenting a little with applique embroidery.
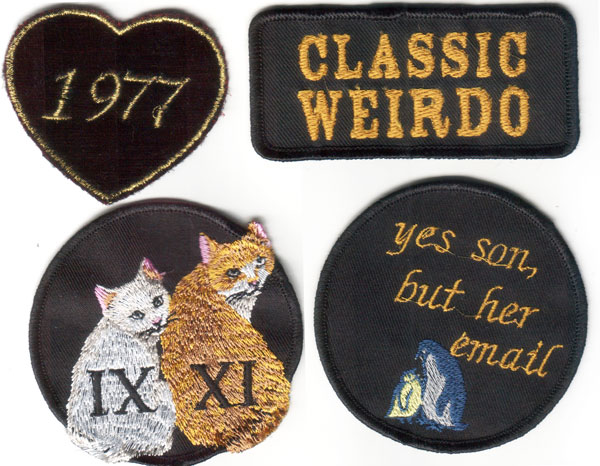
The Patches
Below are some of the patches that I've made so far. They vary in complexity but they all took time to make and I learned something different from each of them. A sewing machine is basically a "stabbing machine" and some of the more complicated designs definitely look like they've seen some violence. I even tried out metallic thread on velvet with the "1977" design. That one has a custom shape too, something that I place to explore more with later.
I'm planning to put these on Etsy soon, and they'll be priced by complexity. I can't promise that they'll be cheap, but they're not mass produced. Each of these takes a lot of time and represents some serious trial and error. I hope you enjoy them. Maybe I'll make a zine. In the meantime, I've been posting the patches at my Instagram account. Please follow along. Anyway, here's a look at twenty of them: